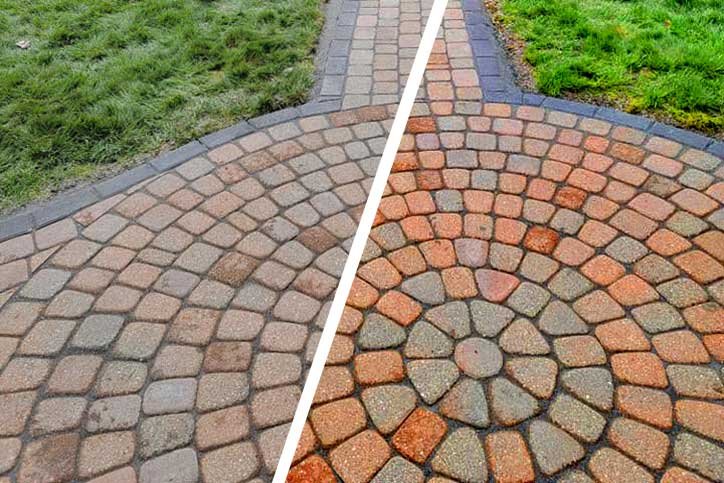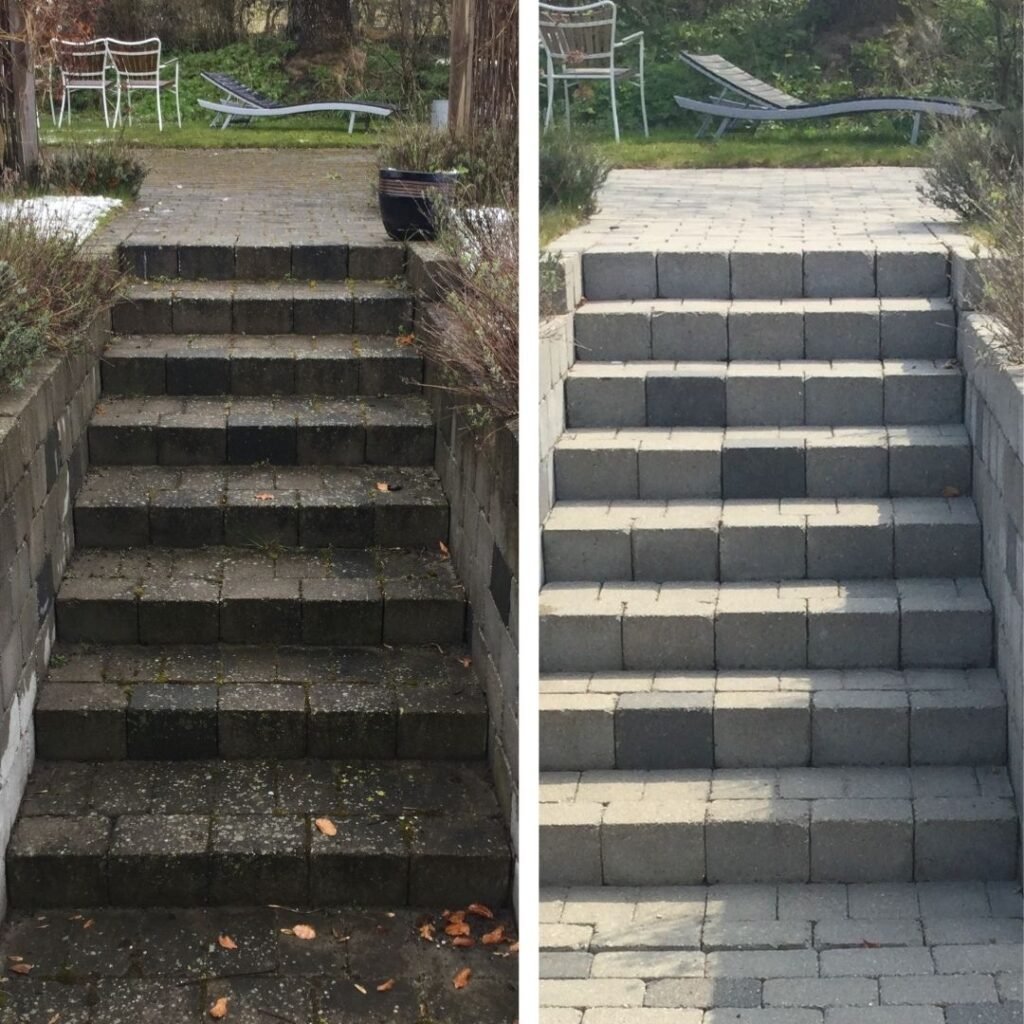
PAVE RESTORATION

One or two cracked pavers can spoil the overall aesthetic appeal of your paving. Therefore, it is important for consumers to repair damaged pavers almost immediately.
Step 1 – Mark all damaged pavers
Begin the repair by simply marking the damaged pavers. Chalk or plaster markers are recommended for this.
Step 2 – Remove the damaged pavers
The next step is to lift the damaged pavers. Seeing that the existing paving will be interlocked, it would be best to break one of the damaged pavers to create a gap in the paving. This can be done by levering the end of a pick under the paver or by using a specialist tool such as a Paving Block extractor manufactured by Probst. Once you’ve managed to remove a few pavers, the rest of the pavers will become looser to uplift. Once lifted, you can put the marked, damaged pavers to one side so as not to use them again, and the undamaged pavers can be placed in a separate area for cleaning.
Step 3 – Cleaning of undamaged pavers
When cleaning undamaged pavers, Bosun advises that a piece of hardboard, or something similar, is used to scrape along the sides of the paver to remove the old grouting sand stuck to the sides. This has to be done to ensure that pavers interlock correctly when re-laid, enabling you to get the paving’s patterns in a neat, straight line which is imperative for the longevity and overall aesthetic appearance of your paving.
Step 4 – Loosening of existing paving and relaying of cleaned pavers
You will find that the existing bedding sand has hardened underneath the pavers that were removed for cleaning. Use your pick to dig into the existing bedding sand to loosen it back to its original state. Now you can screed and level the bedding, preparing it for the paving to be laid. And in case you were wondering new pavers can be laid among the undamaged old ones.
Step 5 – Straightening of lines
When all the paving has been re-laid, a straightening tool can be used to push the pavers together to straighten the lines or patterns of the pavers. A specialist tool such as the Probst Paving Alignment Bar makes the process even easier. Paving lines should be straightened before the grouting sand is placed as you will not be able to straighten the lines once the sand is in between the joints.
Step 6 – Quality check and compaction
The area can be compacted with a forward plate compactor after you have ensured that the pavers are aligned. The compaction process ensures that the pavers bed properly without any highs and lows.
Step 7 – Finishing touches – Jointing Sand & Second Compaction
Once the area has been compacted, you’ve reached the final stage of your project. An approved paving jointing sand can now be swept into the joints. Follow with more jointing sand, spread nicely over the area by compacting the paved surface again with a forward plate compactor. By doing this, you will vibrate the sand deeper into the joints and excess sand can be swept into small stockpiles for use on other areas.
Knowledge is key when it comes to the removal and repair of damaged pavers. You can keep the rest of your paving from deteriorating by acquiring the right maintenance and repair skills.

Check Out Our Work
Your Trusted Exterior Cleaning Experts! We know that keeping your properties clean is a challenging task. That’s why we want to make sure you are getting the best cleaning for the most affordable price.
GREENOS360 INDOOR AND OUTDOOR CLEANING SERVICES
Affordable cost
Dedicated Staff
24X7 Support
Why Choosing Us!
Our Latest Testimonials
What Our Clients Tell About Our Work.
Who We Are?
What We Do?
Why Choose Us?
Your Comfort Depends on Us
High Quality
We provide high quality cleaning services, with 100% customer satisfaction
Fast Service
Set your schedule and get the regular and faster cleaning everyday.
Eco-Friendly
We use biodegradable products which do not harm the environment, pets or humans in any way.
Best Equipment
We use the best and world class equipment for the cleaning process
Professional Cleaning
We only use natural products in the process, No harmful chemicals are used.
Excellent Result
You will get Excellent Results, with fully neat & clean Space


